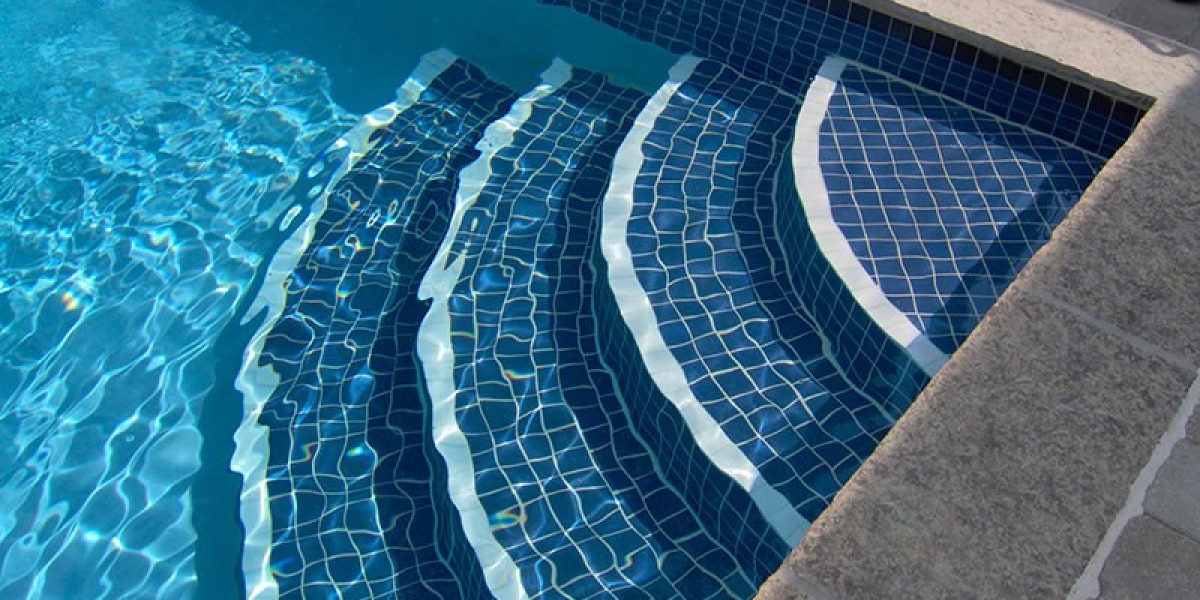
Is your pool looking a bit outdated or showing signs of wear and tear? Maybe it’s time to consider replacing those old, chipped tiles with new ones. Pool tile replacement might sound like a daunting task, but with the right guidance, it can be a straightforward and rewarding project. Let’s dive into everything you need to know about pool tile replacement, from the planning stages to the finishing touches.
Why Replace Pool Tiles?
Pool tiles are not just for aesthetics; they play a critical role in maintaining the pool's integrity. Over time, tiles can crack, become discolored, or fall off. Replacing them not only refreshes the look of your pool but also prevents further damage and potential leaks. Think of it as giving your pool a facelift that boosts both its appearance and functionality.
Choosing the Right Tiles
When it comes to selecting tiles for your pool, there are numerous options. Porcelain, glass, and stone tiles each have their own benefits. Porcelain is durable and cost-effective, glass offers a luxurious finish, and stone provides a natural look. Consider your pool’s design, your budget, and maintenance requirements when making your choice.
Tools and Materials Needed
Before you start, gather all necessary tools and materials. This includes:
Tile adhesive
Grout
Tile spacers
Trowel
Grout float
Sponge
Bucket
Safety gear (gloves and goggles)
Chisel and hammer for removing old tiles
Having everything on hand will make the process smoother and more efficient.
Preparing Your Pool
Preparation is key to a successful tile replacement. Drain your pool and allow it to dry completely. This ensures a clean work surface and prevents water damage to the adhesive and grout.
Removing Old Tiles
Start by carefully chipping away the old tiles using a chisel and hammer. Work slowly to avoid damaging the underlying surface. It’s like peeling an orange; go too fast, and you might tear the flesh. Take your time to ensure a clean removal.
Cleaning the Surface
Once the old tiles are removed, clean the surface thoroughly. Remove any remaining adhesive or grout. A clean, smooth surface is crucial for the new tiles to adhere properly.
Applying the Adhesive
Spread a thin layer of tile adhesive using a trowel. Ensure the adhesive is evenly distributed. Think of it like buttering bread; you want a nice, even spread to hold the tiles firmly in place.
Installing New Tiles
Place the new tiles onto the adhesive, using tile spacers to ensure even spacing. Press firmly to set them in place. It’s important to work methodically, one section at a time, to maintain alignment and consistency.
Grouting the Tiles
After the adhesive has set, apply grout between the tiles using a grout float. Wipe away excess grout with a damp sponge. This step seals the gaps and gives a polished finish to your pool.
Curing and Sealing
Allow the grout to cure for the recommended time, usually 24-48 hours. Once cured, apply a sealer to protect the grout from water damage and staining. This final step ensures longevity and durability.
Common Mistakes to Avoid
Avoid common pitfalls such as rushing the adhesive drying time, using the wrong type of grout, or failing to properly clean the surface. Taking shortcuts can lead to costly repairs down the line.
Maintenance Tips
Regular maintenance is crucial to keep your pool looking its best. Clean the tiles regularly, check for cracks, and reapply sealer as needed. Think of it as routine check-ups to keep everything in top shape.
When to Call a Professional?
If you’re unsure about any step or if the damage is extensive, it’s wise to call in a professional. Expert help can save you time and ensure the job is done correctly, giving you peace of mind.
Cost Considerations
The cost of pool tile replacement varies depending on the tile type, the size of your pool, and labor costs if you hire a professional. DIY can save money, but ensure you’re equipped with the right skills and tools.
Conclusion
Replacing your pool tiles can breathe new life into your backyard oasis. With careful planning and execution, you can achieve a stunning, durable finish that enhances both the beauty and functionality of your pool. So, are you ready to take the plunge and start your pool tile replacement project?


